


|
Graphics on this page, I'm going to make this egg from a photo of yellow roses. I want to center my flowers on the egg, so I'll start with the image and draw the oval on it. This image is 269 x 312 pixels. It will make a very large egg, but the egg will look nicer if you start big and then scale it down when it's finished. 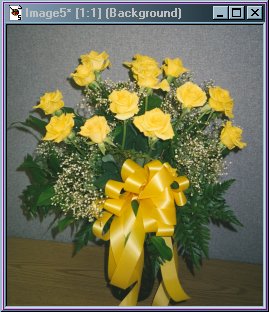 (NOTE: A gradient fill, a texture or a pattern would work just as well as the roses. I could also have made an oval with the selection tool on a blank image and added my pattern with the flood fill tool.) Choose the selection tool, Sellection Type = Ellipse, Feather = 0, Antialias not checked. Draw an egg shape on your image. I drew an oval that covered most of the image vertically. (TIP: Once you have an oval shape you like, save it to the alpha channel [Selection/Save to Alpha Channel], so that you won't have to draw it again.) 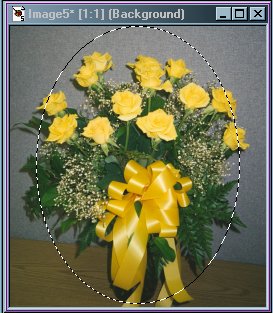 With the oval selection active, select Filters/Eye Candy/Water Drops. For this egg, I used the following settings: 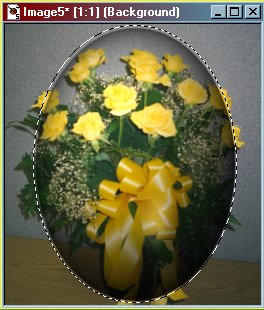 See how the selection is outside the raised part of the egg? So choose Selections/Modify/Contract/4 pixels. This contracts the selection so that it only encloses the part of the image that Eye Candy changed. (NOTE: The number of pixels you need to contract may vary, depending on the size of your original image.) With the oval selection still active, copy the image, Edit/copy (or use the keyboard shortcut: Ctrl+C). Then paste to a new image, Edit/Paste as new image, (or use the keyboard shortcut: Ctrl+V). This will create an image just the size of your egg with a transparent background. 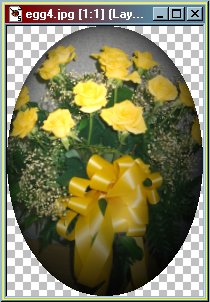 Now, I thought that a bit of a highlight was needed make the egg look more "3D", so with the selection too set to ellipse, I made a small ellipse on the top left side of the egg and flood filled it with white. 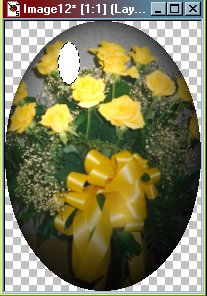 With the white ellipse still selected, choose Selections/Promote to layer, (Keyboard shortcut: Shift+Ctrl+P). Then deselect the ellipse, and make sure the white ellipse, not the egg, is your active layer. Next we're going to rotate and then blur the white ellipse. Choose Image/Rotate and select Right, Free = 25, and make sure "All Layers" is unchecked. If 25 doesn't suit you, undo the change and try another setting. 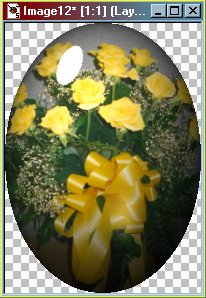 To soften the highlight, choose Image/Blur/Gaussian Blur. I used a blur of 4.00. 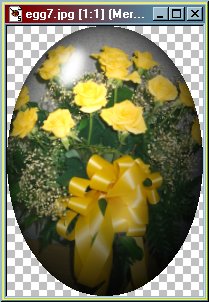 If you're satisifed with the egg, choose Layers/Merge/Merge Visible. This will retain the transparent background while collapsing all layers to a single merged layer. Now you're all ready to export the image as a picture tube, and when used at 50%, I think it looks even better. 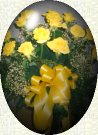 Here are a couple of alternate Eye Candy Settings that I've used on some of my eggs.
Big Ideas are so hard to recognize, so fragile, so easy to kill.
|